Recording a coding tutorial is mostly not about the recorder. It is about a screen that is readable on a phone, sound that is not an echo, and a take you do not have to redo because a notification appeared in the middle.
This is the whole setup on a Mac — free, no watermark, no account. It takes about ten minutes to get right the first time, and nothing after that.
Record the window, not the whole screen
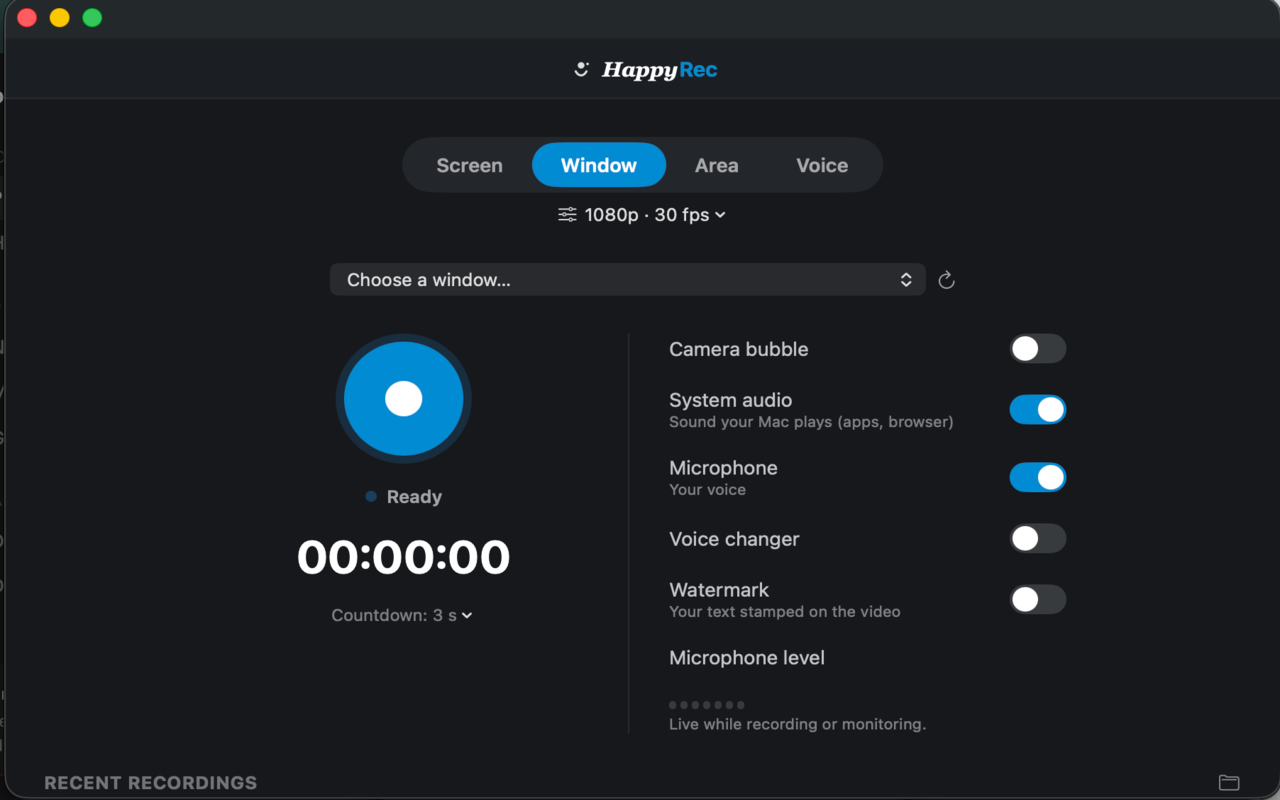
Full-screen recordings of a developer’s machine are a mess: a dock full of apps, a browser with thirty tabs, and a menu bar with everybody’s name in it. Window mode records one application and nothing else, so your editor is the video and your desktop never appears.
It also survives you moving the window, and anything you put in front of it does not show up in the recording. If your tutorial moves between the editor and a browser, use Area mode instead and drag a frame around the region both windows sit in.
Make the code readable before you press record
This is the single biggest difference between a tutorial people finish and one they close. A font that is comfortable on your 27-inch display is unreadable on a phone, and most people watch on a phone.
- Editor font 18–22pt at minimum. It will look absurdly large to you. That is correct.
- Hide what you are not using — file tree, minimap, terminal panel — unless the step needs them.
- Use a light-ish theme or a high-contrast dark one. Low-contrast themes turn to mush after video compression.
- Zoom the browser to 125–150% when you switch to it, for the same reason.
- Turn on Do Not Disturb. A message from a friend in the middle of a client tutorial is the most common reason a recording is redone.
Sound: two switches, and headphones
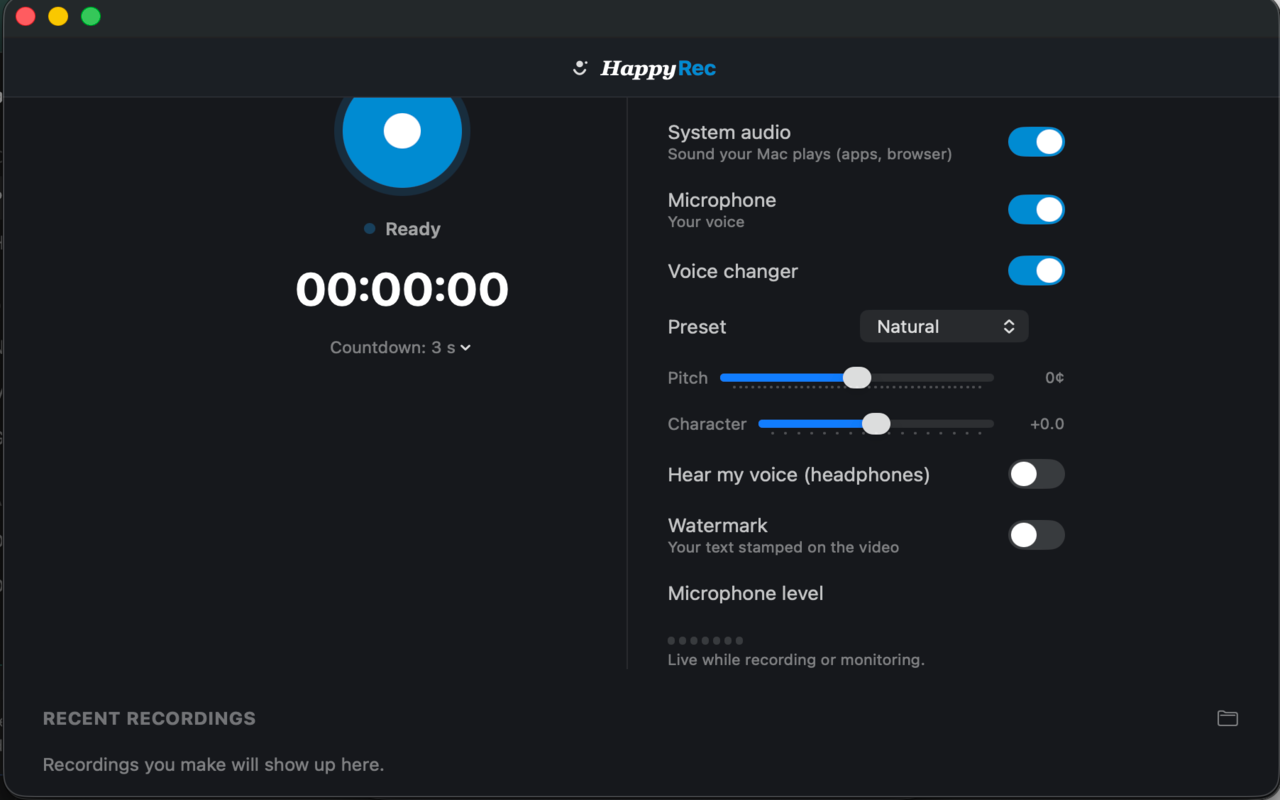
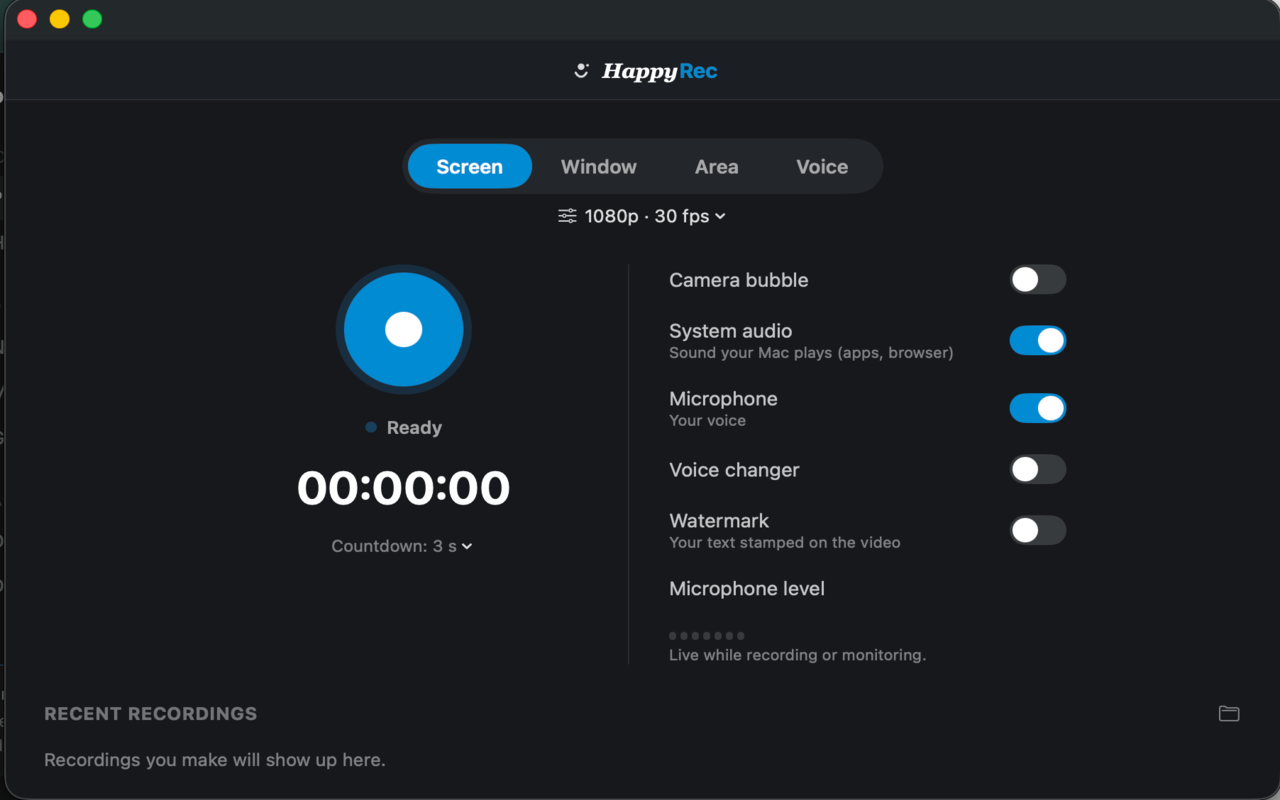
Your voice comes from the Microphone switch. Anything the Mac plays — a test suite beeping, a video you are demonstrating — comes from System audio. They are independent, and both are off until you turn them on.
For a normal coding tutorial you need the microphone. Turn on system audio only if the thing you are demonstrating makes noise.
If you record your voice and system audio together through speakers, the microphone picks up the speakers and the result has an echo that cannot be removed afterwards. Wear headphones. Any headphones.
Before you start, say a sentence and watch the level meter move. If it does not move, the microphone is not reaching the app — usually the wrong input device, a mute switch on a headset, or a video-call app still holding the microphone. Finding that out now costs ten seconds; finding it out afterwards costs the whole take.
Use pause instead of starting again
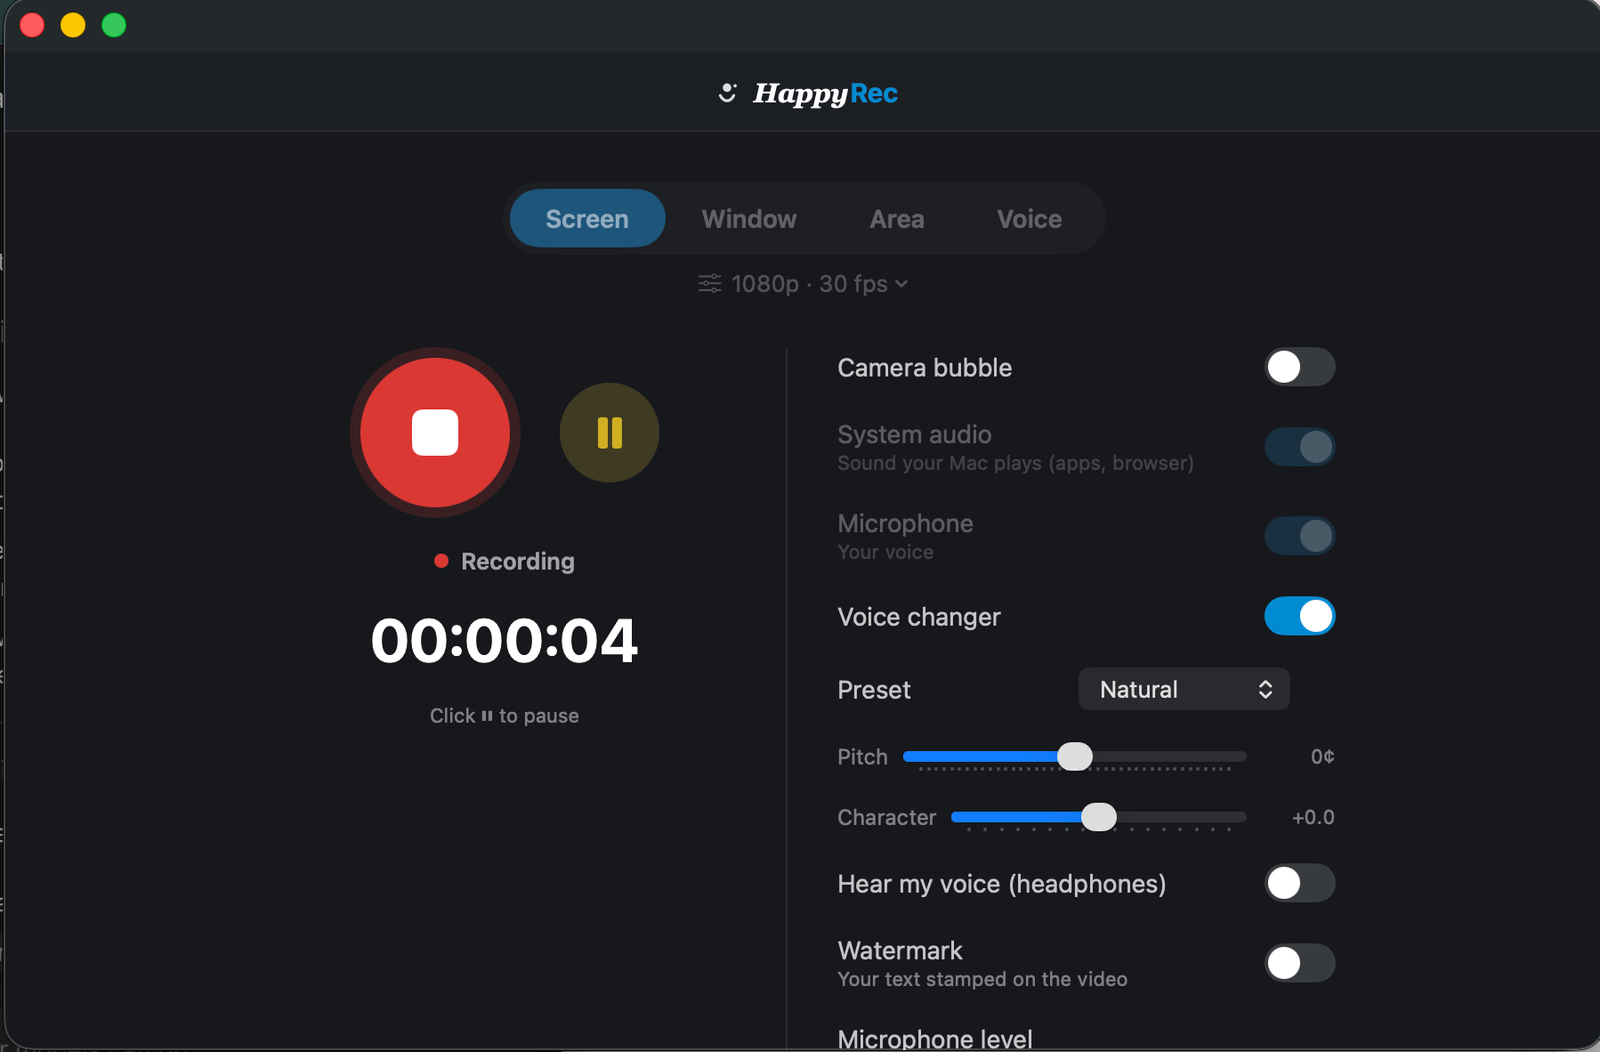
Most people record a tutorial four times because they lose their thread on the third minute. Pause instead. Collect yourself, open the file you forgot, then resume — the paused section is not in the finished video, and the result is indistinguishable from a confident single take.
This one habit is the difference between a twenty-minute recording session and a two-hour one.
Not everybody wants to be on camera
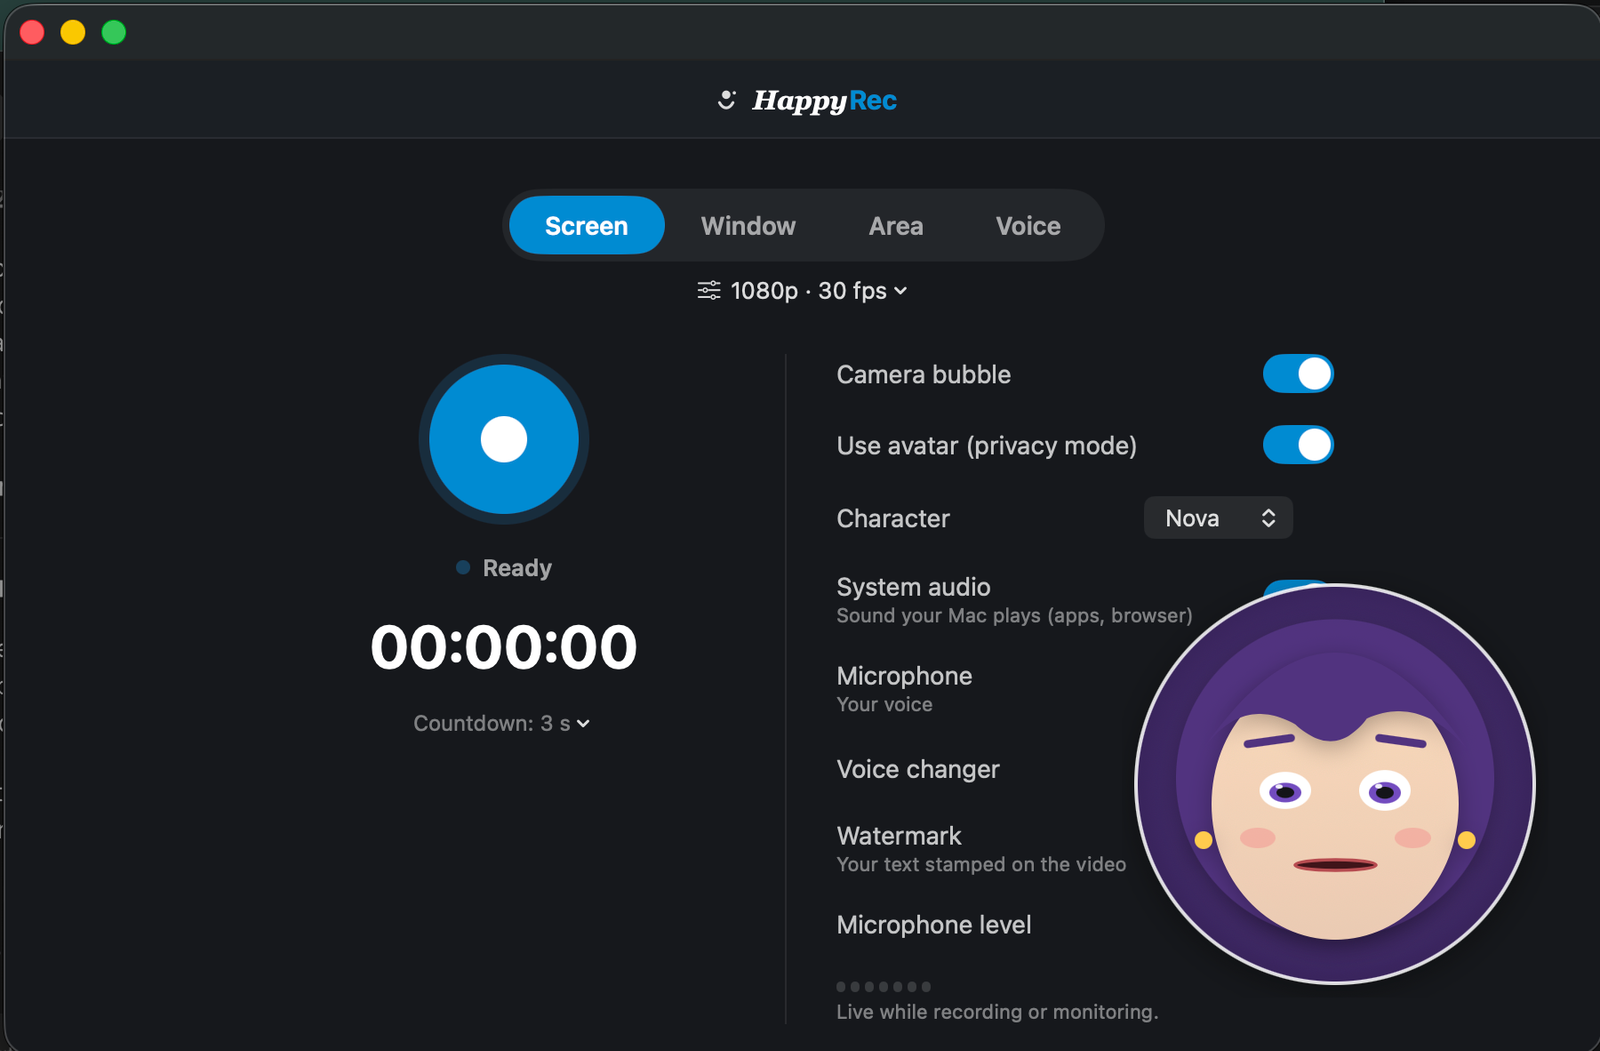
A face in the corner helps people follow a long tutorial. If you would rather not be on camera — recording at eleven at night, in a room you do not want in a file — the avatar bubble moves when you move, so the video still feels live, and your actual camera image never enters the recording or leaves your Mac.
For a short clip showing a bug, skip both. A face adds nothing to fifteen seconds and takes up space where the code is.
A ten-minute checklist
- Window mode, editor selected.
- Editor font up to 18–22pt, file tree and minimap hidden.
- Do Not Disturb on.
- Headphones in, microphone switch on, level meter moving when you speak.
- System audio on only if the demo makes sound.
- Say the first sentence out loud once before recording it. It is always the worst one.
- Record. Pause when you lose your thread. Stop when done.
What to say, and in what order
The structure that works for a technical audience is the same every time: say what you are about to do, do it, then say what happened.
- Say it before you do it. “I am going to add a prepared statement here” — then type. People need a second to move their eyes.
- Type slower than you normally would, and pause after each meaningful line.
- Read out anything you paste. A block that appears instantly is a block nobody read.
- Show the error before the fix. The error is why anyone searched for your video.
Where the file goes
Recordings are written as you record, to a folder on your own Mac that you choose the first time. Nothing is uploaded, there is no account and no cloud copy — which also means backing them up is your job.
Because the file is written continuously, a session that ends badly at forty minutes still leaves forty minutes of usable video rather than nothing.
Recording just the part of the screen that matters
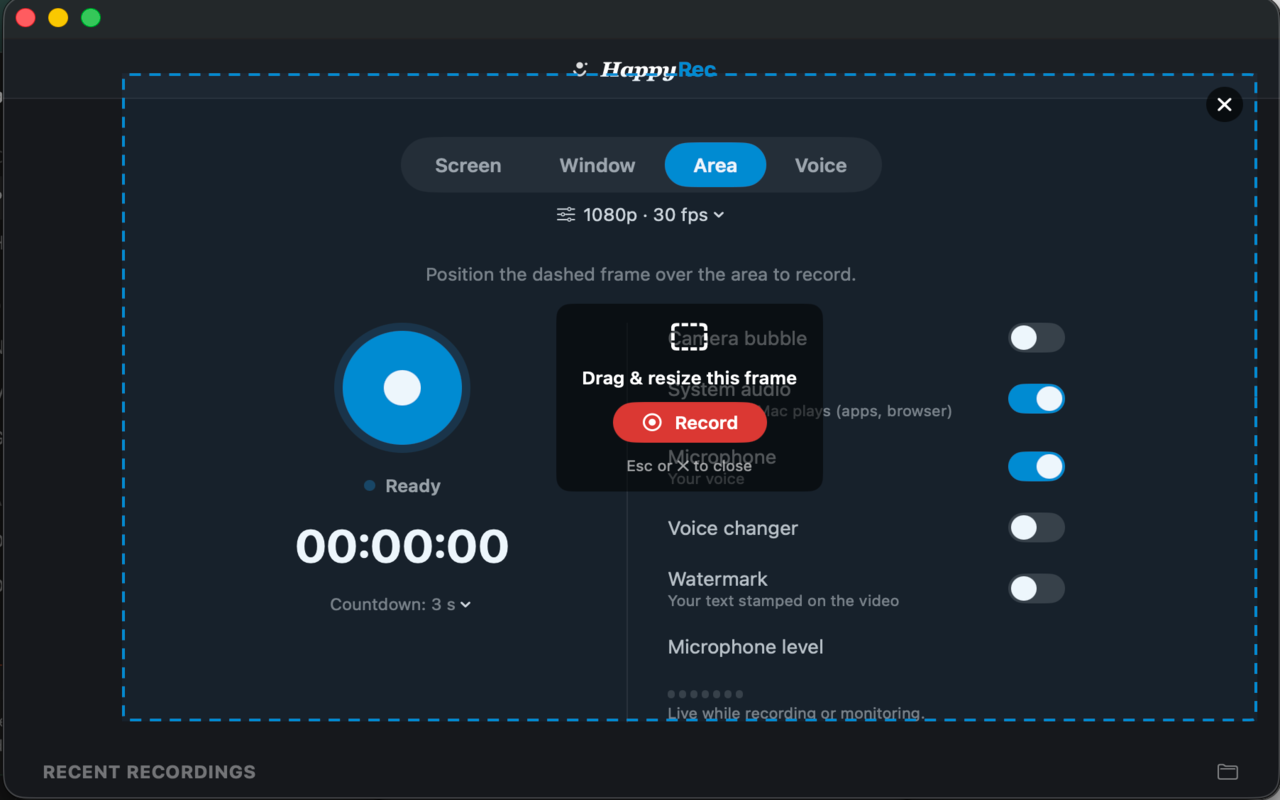
A tutorial that moves between an editor and a browser does not fit in Window mode, because a window is one application. Area mode covers it: drag a frame around the region both windows occupy, and everything inside is recorded while everything outside — dock, menu bar, second monitor — is not.
It has a second use that matters for tutorials. A 4K display recorded whole produces an enormous file in which your code is a small rectangle in the middle. Dragging a frame around just the editor makes the file a fraction of the size and the code correspondingly larger in the finished video.
The frame does not follow anything, so decide the layout before you start. If a dialog opens outside the frame mid-tutorial, it is simply not in the recording.
Voice-only narration, recorded separately
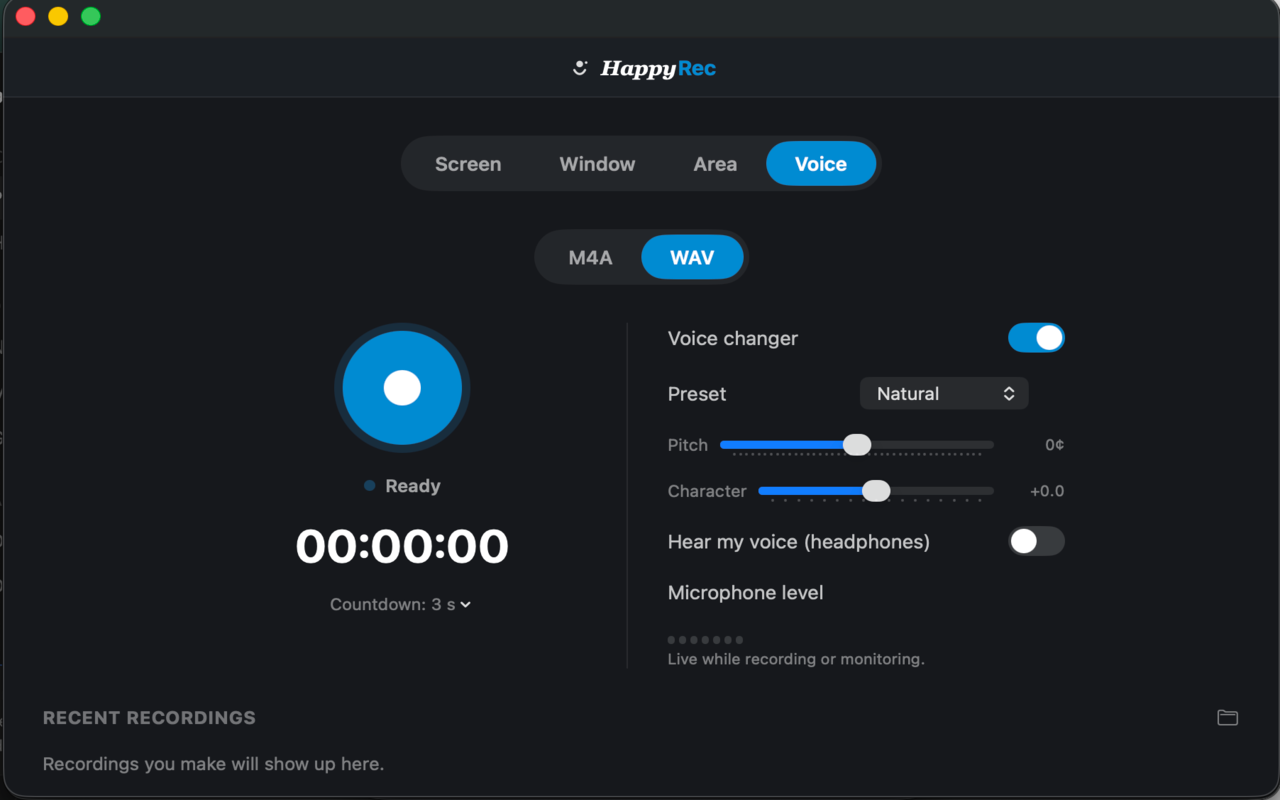
For anything that will be published rather than sent to one person, there is a better workflow than narrating live: record the screen silently, then record the narration afterwards while watching it back.
Two reasons. The narration is better, because speaking while typing makes everybody hesitate, backtrack and describe what they did after doing it. And you keep control of the balance between your voice and any system sound, which you do not have once both are mixed into one file.
Voice mode records audio alone — M4A for anything normal, WAV if the audio will be edited heavily afterwards. A one-hour M4A is a few tens of megabytes; the same hour as WAV is a few hundred.
When the recording goes wrong
Four problems cover almost every failed take, and all four are visible before you start if you look.
- No sound at all. The microphone switch was off, or the level meter was never moving. Say a sentence and watch the meter before every session — it takes five seconds.
- An echo through the whole recording. Speakers instead of headphones. There is no fix in editing; the take has to be redone.
- A notification in the middle. Do Not Disturb. Also quit any chat app that shows a badge in the menu bar.
- The wrong screen. With two displays, Screen mode records one of them and it may not be the one you are working on. Window or Area mode removes the question entirely.
A fifth, less obvious one: a laptop that goes to sleep during a long pause. If you are pausing for several minutes, keep the machine awake, because a sleep ends the capture.
How long, and what to do about length
Tutorials that get watched to the end are shorter than the ones people intend to make. If a topic needs forty minutes, it is usually three videos, and three videos are easier to record, easier to fix and easier to find in search.
A structure that works for a series:
- One problem per video. “Set up the database connection”, not “build the whole app”.
- Say at the start what the viewer will have by the end. One sentence.
- Show the finished thing first, for ten seconds, so people know they are in the right place.
- End where the next video starts. It makes a series feel deliberate rather than chopped.
After recording: what usually needs editing, and what does not
If you used pause properly, most tutorials need nothing. The two edits worth making are trimming the first and last few seconds — the part where you reach for the mouse — and cutting any section where you went badly wrong.
macOS includes QuickTime, which trims without installing anything: open the file, Edit, Trim. That covers the majority of tutorial recordings. Reach for a real editor when you need titles, zoom-ins on a code block, or to lay a separate narration track over a silent screen recording.
On file size: a full-resolution Retina screen recording is roughly a gigabyte per ten minutes. For anything that will be watched in a browser window, the lower resolution setting produces a file about a quarter of the size that most viewers cannot tell apart. Upload the smaller one.
Recording a series, consistently
Small inconsistencies across a series are noticeable in a way nobody can name. Fix them once and stop thinking about it.
- Same window size every time. Set your editor window to a fixed size rather than full screen.
- Same font size, same theme. Changing themes between episodes is disorienting.
- Same bubble corner, if you use a camera or avatar — and the same choice of camera or avatar throughout.
- Same opening sentence structure. Familiar beginnings make a series feel like a series.
- Name the files properly as you go:
01-setup.mp4, notScreen Recording 2026-09-12 at 3.14.22 pm.mp4.
Privacy: what is on your screen
The recorder captures what you point it at. The risk in a developer tutorial is not the tool, it is the screen: an .env file with real credentials, a terminal with a production connection string, a browser tab with a client name, an email notification.
- Use a separate project with fake data for anything you will publish.
- Rotate any key that appeared on screen, even briefly, even blurred. Video can be paused frame by frame.
- Watch it back before uploading. Thirty seconds, once. It catches nearly everything.
HappyRec itself records only while you are recording, writes to a folder on your own Mac, and uploads nothing — there is no account and no cloud copy. macOS shows its own indicator whenever any app is capturing the screen, so you never have to take an application’s word for whether it is running.
Where the video is going, and what that means for settings
The right quality setting depends entirely on where the file ends up, and the difference is large.
- YouTube or Vimeo — upload the highest quality you have. They re-encode anyway, and giving them a better source gives viewers a better result.
- Google Drive or a client link — the lower resolution setting. A quarter of the size, and nobody watching in a browser window will see a difference.
- WhatsApp — keep it under about 15 MB, which for a screen recording means short or low resolution. WhatsApp compresses hard, so send a link instead whenever you can.
- Documentation or a knowledge base — shorter clips at lower resolution, so the page stays quick to load.
If in doubt, record at the higher setting and export a smaller copy. You can always make a file smaller; you cannot add detail back.
Keeping it out of the way while you work
The recorder itself should not appear in your tutorial, and it should not need hunting for either. Two habits handle both: keep it in the menu bar rather than as a window you have to find, and use the countdown to get from the recorder to your editor before capture starts.
If you record often, the whole sequence becomes muscle memory: open from the menu bar, check the meter, press record, switch to the editor during the countdown. About eight seconds.
The tool
All of this is HappyRec, a free screen recorder for macOS with no watermark and no account. Screen, window, area or voice-only, camera bubble or avatar, and a voice changer if you want one. If you are writing tutorials regularly it is worth having in the menu bar rather than hunting for a tool each time.
There is a full written guide to each mode in our guide to the four recording modes, and one on recording system audio and your voice at the same time.