Four buttons across the top of HappyRec — Screen, Window, Area, Voice — and most people press the first one every time because it is first.
That works, and it also means almost every recording contains things nobody needed to see. Picking the right mode takes two seconds before you record and saves ten minutes of cropping afterwards.
Screen: the whole display
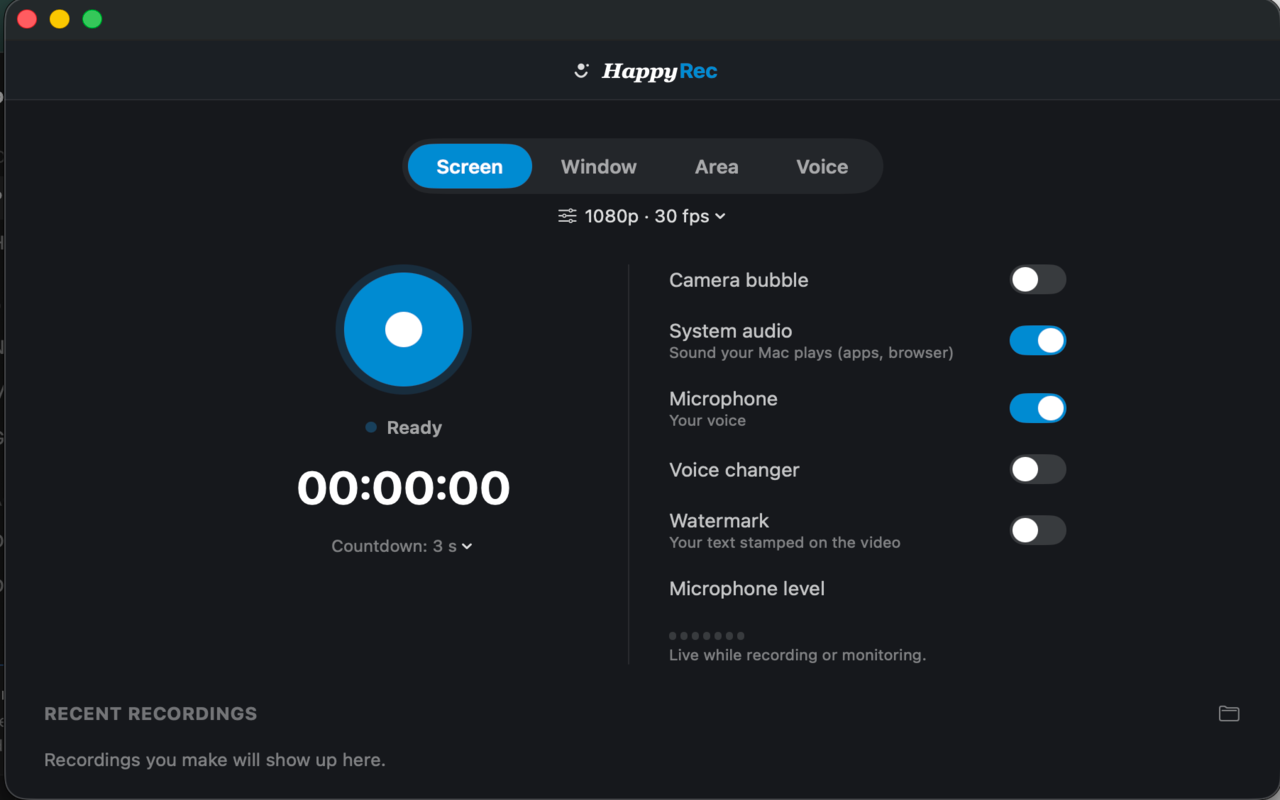
Records one complete display, exactly as it looks, including the menu bar, the dock, and anything that appears while you are recording.
Use it for anything where the point is the whole workflow — moving between applications, dragging a file from one window to another, showing somebody how a full setup fits together.
Avoid it for anything you will send outside your company, unless you have tidied the desktop first. Screen mode is honest about what your screen looks like, which is not always what you want a client to see.
With two displays connected, this records one of them. Check which before you start; the recording of the wrong screen looks perfect until you play it back.
Window: one application, and it follows
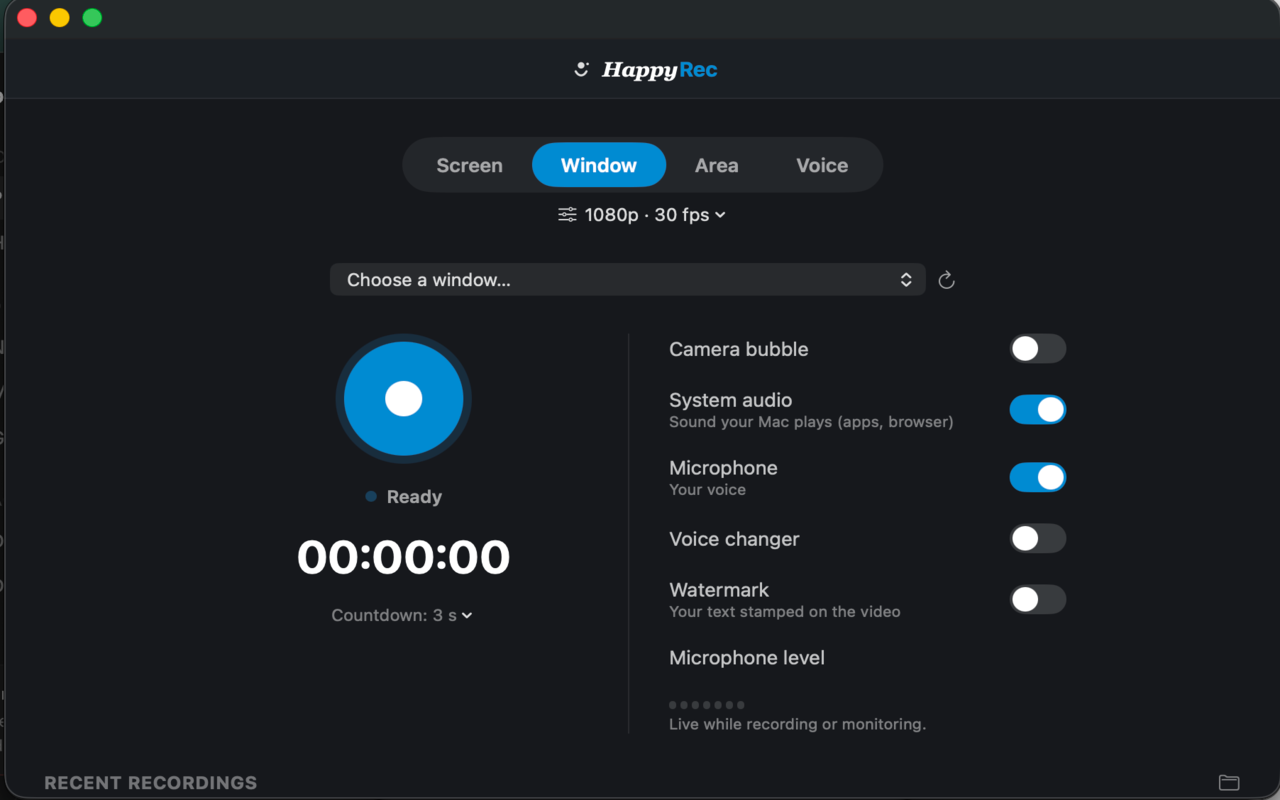
Pick a window from the list and only that window is recorded. Move it, and the recording follows. Put something in front of it and the recording is unaffected — the thing in front does not appear.
Use it for demonstrating one application, which is most tutorials. The result is clean, it needs no cropping, and your notifications, your dock and your other work never appear.
The trade-off nobody mentions: a window is something you can close, and closing it during a recording ends the capture. If you are going to move between two windows, this is the wrong mode — use Screen or Area instead.
Window mode is the right default for most tutorials. If you are showing somebody how to use a single app, there is no reason for the rest of your desktop to be in the file.
Area: exactly the part that matters
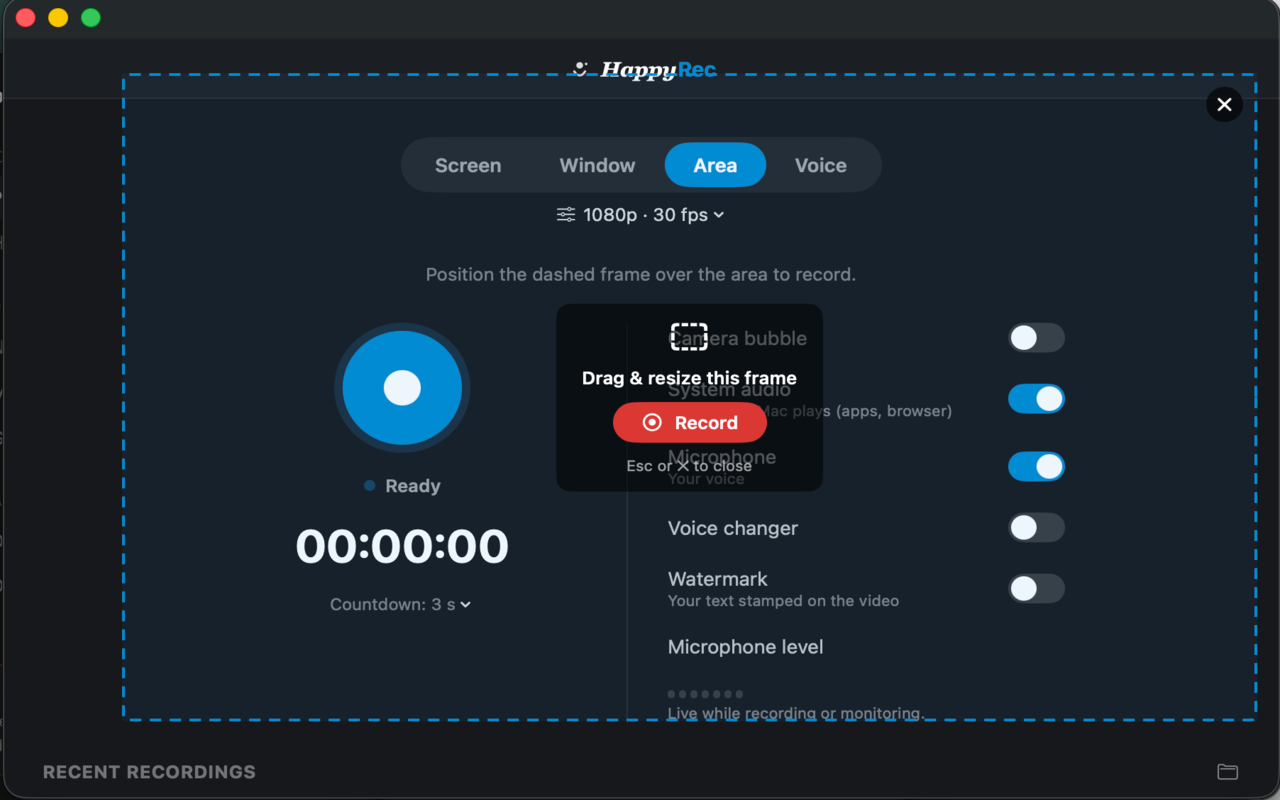
Drag a frame around a region and only that rectangle is recorded. The size is shown while you drag, so you can land on a specific dimension if the video has a destination that needs one.
Use it for a small part of a large screen — a single panel, a form, a chart. A 4K display recorded whole produces an enormous file in which the thing you are demonstrating is a small square in the middle. Area mode makes the file smaller and the content bigger.
Use it also for a fixed aspect ratio. If the recording is going somewhere that expects sixteen by nine or a square, selecting that shape now is easier than cropping later.
Avoid it for anything where the content will move outside the frame. The frame does not follow anything; whatever leaves it is gone.
Voice: no picture at all
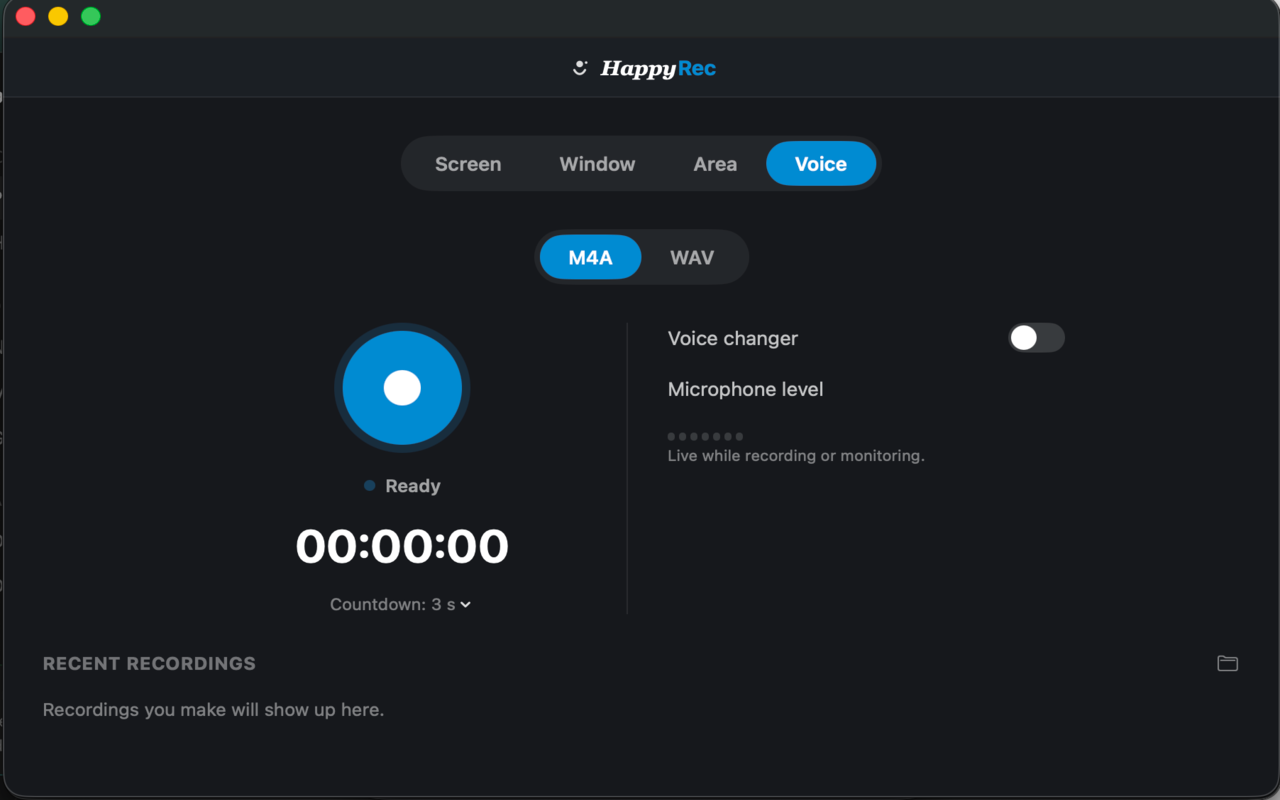
Records audio and nothing else. Your microphone, optionally your system audio, into an audio file.
Use it for voice notes, a narration track you will lay over something else later, a podcast take, or dictating something long that you would rather speak than type.
It is also the mode people forget exists, and it is the one that saves the most time. Recording your screen to capture two minutes of speech produces a video file of a static desktop for no reason.
A quick way to choose
- Showing one app → Window
- Showing several apps or a whole workflow → Screen
- Showing part of one screen, or needing a specific shape → Area
- Recording only your voice → Voice
- Not sure and it is going outside the company → Window or Area, never Screen
What stays the same in every mode
The switches on the right work identically whichever mode you are in. System audio, microphone, camera bubble, voice changer and watermark are all available in all four, which means there is nothing to relearn when you switch.
The countdown, pause, and the recent recordings list are the same too. Changing mode changes what is captured and nothing else about how the app behaves.
File size, and why the mode matters
The mode you choose changes the size of the file more than any quality setting does, because it changes how many pixels are being recorded.
A full Retina display is an enormous number of pixels. A single window is a fraction of that. A dragged area can be a fraction again. Recording ten minutes of a whole 4K screen and ten minutes of one window produces two files that differ by several times, with the same content in the middle of both.
This matters when the recording has to be sent to somebody. A file that will not go through email or takes ten minutes to upload is a file that does not get shared, and choosing Window or Area at the start is a much better solution than compressing afterwards.
A rough guide
- Whole 4K screen — expect roughly a gigabyte for ten minutes at full quality.
- One window — usually a third to a half of that.
- A dragged area — depends entirely on the size you drew, and can be very small.
- Voice only — a few megabytes an hour. Effectively free.
The lower resolution setting halves the dimensions and produces a file about a quarter of the size, which for anything watched in a browser window is frequently indistinguishable from full resolution.
Two displays
A second monitor changes the answer for two of the four modes.
In Screen mode, you are recording one display and you have to choose which. Doing this wrong is the single most common re-record: everything looks right while you work, and the file contains the screen you were not using.
In Area mode, you drag on whichever screen you like, and the recording is that rectangle on that screen. Moving a window onto a different display mid-recording means it leaves the frame.
Window mode is unaffected. It follows the window across displays, which makes it the safest choice on a multi-monitor setup.
Voice mode does not care at all.
What each mode leaves you to fix afterwards
A useful way to choose is to ask what editing each mode will require.
Screen usually needs cropping, and sometimes needs a section cut out because a notification appeared. Window usually needs nothing. Area needs nothing if the frame was right and cannot be rescued if it was wrong. Voice needs trimming at the ends and nothing else.
If you do not edit at all — and most people recording a quick walkthrough do not — that argues strongly for Window as the default. It is the mode most likely to produce something sendable straight out of the app.
A note on recording other people
Whichever mode you use, if a recording contains somebody else — their voice on a call, their message in a notification, their name in a window — the sensible and in many places the required thing is to tell them.
This is not a software setting; it is a habit. Say at the start of a call that you are recording, and check what is on screen before you send anything outside your company.
Window and Area modes help here more than any policy does, because they make it structurally impossible for anything you did not select to appear in the file.
Changing your mind
You cannot change mode during a recording — the frame or the window has to be decided before the file starts. What you can do is stop, change, and start again, which takes about four seconds.
If you find yourself doing that often, it usually means Screen mode was the right answer all along and you were trying to be tidy. Record the screen, and crop afterwards if it matters.
HappyRec is free, runs entirely on your Mac, and needs no account. All four modes are in the same window.