Every Mac user who has recorded their screen has, at least once, produced a perfect video with no sound. It is the most common problem with screen recording on macOS and it has a specific cause.
macOS does not let an application record the sound your computer is playing. Not by permission, not by a setting you have missed — the capability simply is not there for ordinary applications, which is why for years the standard advice involved installing a virtual audio driver.
Two completely different sounds
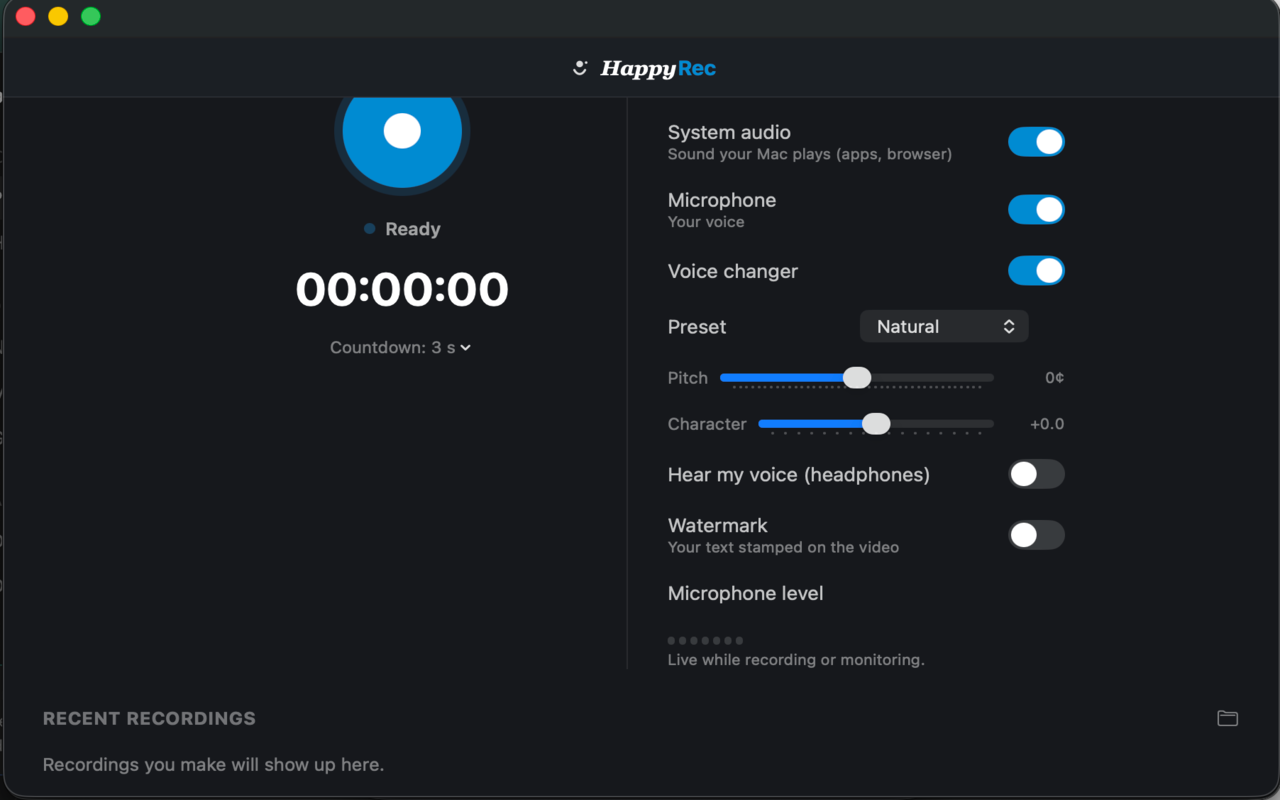
It helps to be precise about what the two switches do, because people frequently turn on one and expect the other.
System audio is what your Mac is playing — a video you are demonstrating, a notification, music, the sound of the app you are showing. It never includes your voice.
Microphone is your voice, and anything else in the room. It never includes what the computer is playing, unless you are using speakers, which is the problem we come to below.
A tutorial where you narrate over a demo needs both. A bug report of an app making the wrong noise needs system audio only. A voice-over for a slide deck needs the microphone only.
Why you need headphones
If you record your voice and system audio at the same time through speakers, the microphone picks up the speakers. Your Mac’s sound now exists twice in the recording — once from the system, once through the room, a fraction of a second later.
That is an echo, and it cannot be removed afterwards by any amount of editing. It is not a fault in the software; it is what happens when a microphone can hear a speaker.
Headphones solve it entirely. Any headphones. This is the single most useful thing to know about recording narration over a demonstration.
If a recording sounds hollow, doubled or like it was made in a bathroom, this is almost always why. Wear headphones and record it again — there is no fix in editing.
Checking before you record, not after
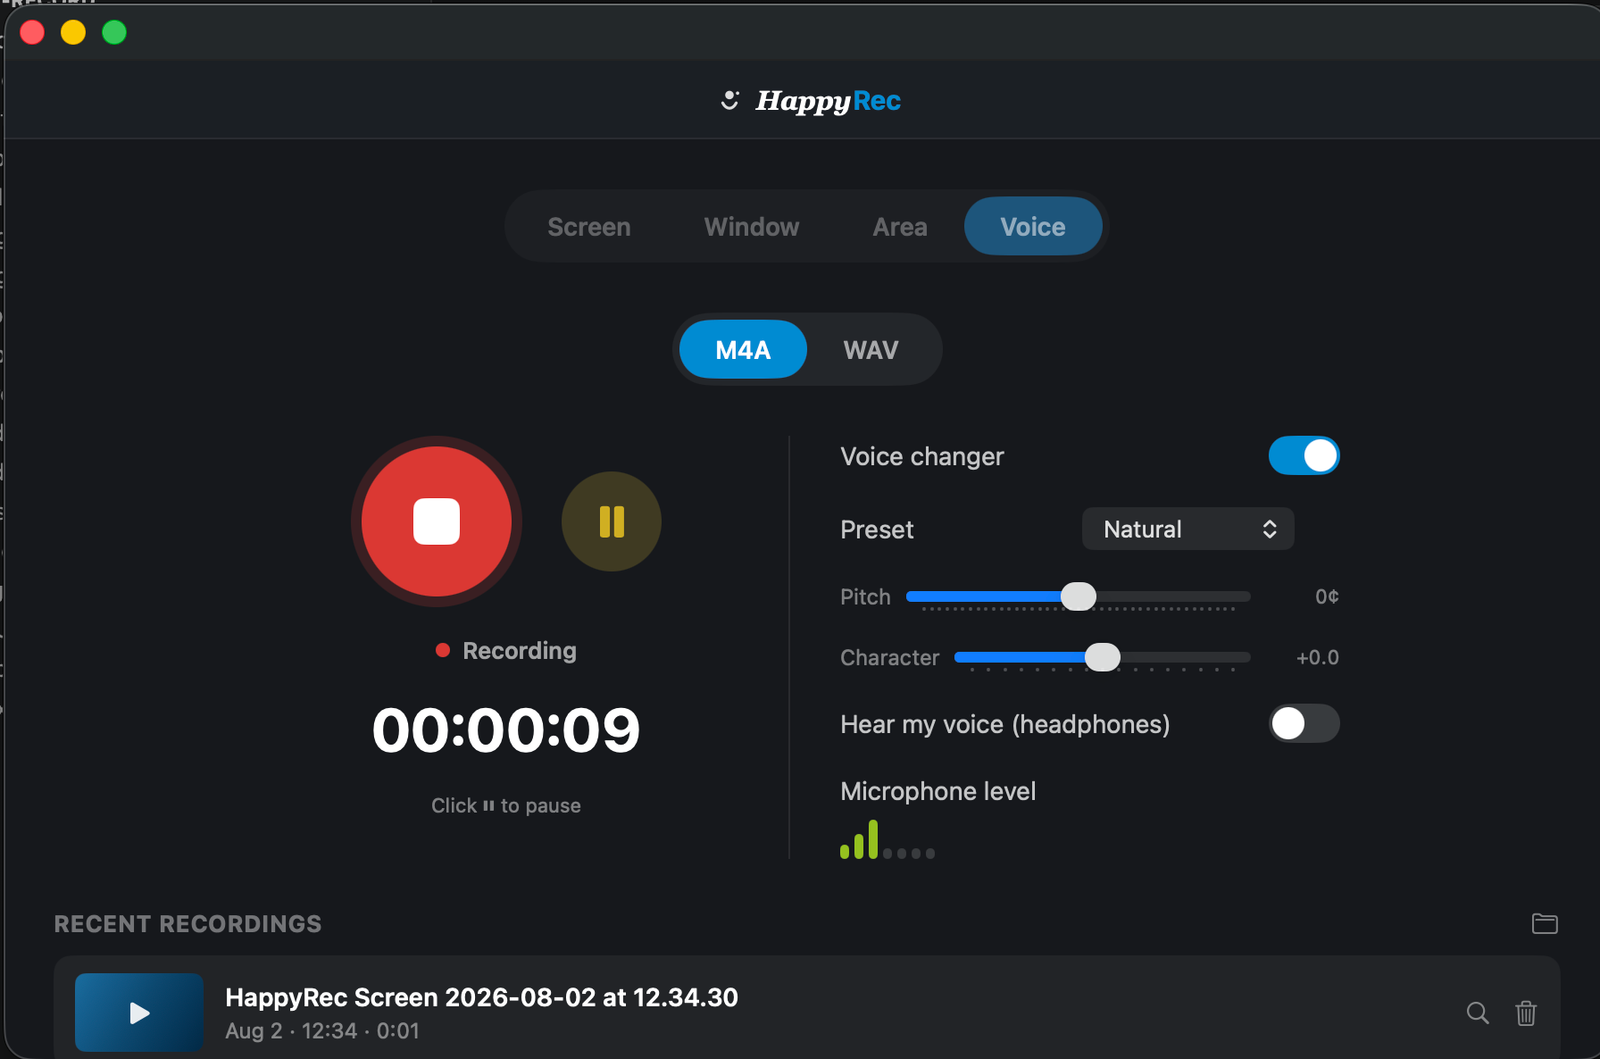
Ten seconds before you press record will save you a re-take.
- Say something and watch the level meter. If it does not move, the microphone is not reaching the app and the recording will be silent.
- Play the thing you are demonstrating for two seconds. If system audio is working you will hear it in your headphones through the app’s monitoring.
- Check the level is not at the top. A meter pinned at maximum is distorting, and distortion cannot be undone.
If the microphone meter is dead, three things cause it almost every time: the wrong input device is selected in System Settings, a hardware mute switch on a headset is on, or a video-call application that was never fully quit is holding the microphone exclusively.
Getting the level right
A good speaking level sits in the upper-middle of the meter, with the loudest moments approaching the top but not touching it. Too quiet and everything you do to fix it afterwards raises the room noise with it. Too loud and the peaks are clipped, permanently.
The practical method is to say the loudest thing you are going to say — usually the first sentence, said with energy — and set the level so that it approaches but does not reach the top. Everything quieter takes care of itself.
Distance matters more than any setting. A microphone at arm’s length picks up the room; the same microphone at a hand’s width picks up you. Moving closer improves a recording more than any amount of adjustment.
Recording only one of the two
Both switches are independent, so any combination works.
- System audio only — a demonstration where the narration will be added later, or a bug report about sound.
- Microphone only — a walkthrough where the app makes noises nobody needs to hear.
- Both — the normal case for a tutorial.
- Neither — a silent screen recording, which is often exactly right for a short clip that will be watched without sound anyway.
The last one is worth remembering. A fifteen-second clip showing a bug does not need commentary, and a silent file is smaller and easier to send.
What system audio does not include
One thing that surprises people: system audio captures what your Mac is playing, which is not the same as everything you can hear.
A video call is a common example. The other person’s voice is being played by your Mac, so it is captured. Your own voice is not — it is going out through the microphone, not coming in through the speakers. A recording of a call therefore contains everybody except you unless the microphone switch is also on.
Similarly, sound from a phone sitting next to your Mac is not system audio. It is in the room, so it reaches the microphone and nothing else.
The rule is simple once stated: system audio is what the computer plays, microphone is what the room contains, and there is no third thing.
Choosing an input device
If several microphones are available — a laptop microphone, a headset, an interface — macOS picks one and it is not always the one you meant.
The built-in microphone on a Mac is good enough for a bug report and noticeably worse than almost any headset for anything longer. If a recording is going to be listened to for more than a minute, use a headset.
Whichever you pick, check the level meter is responding to that microphone before recording. Speaking into a headset while macOS is listening to the laptop produces a distant, echoey recording that sounds like a mistake and is one.
A device that disappears mid-recording
If you unplug headphones during a recording, macOS switches input, and the second half of your file will sound different from the first — different level, different room, different quality.
There is no way to fix that afterwards. If it happens, the practical answer is to stop, plug back in, and record the section again rather than trying to match two halves that were never going to match.
Room noise, and what actually helps
Most advice about recording audio involves buying something. Three things that cost nothing improve a recording more than most purchases.
- Get closer. Halving the distance to the microphone roughly doubles your voice relative to the room. This is the single biggest improvement available to anybody.
- Turn off the fan. Air conditioning, a desk fan, a laptop working hard — all produce a constant hum that is very obvious in a recording and inaudible while you are in the room.
- Record away from hard surfaces. A room with a rug and curtains sounds dramatically better than one with bare walls and a glass table.
None of that is about the software, and all of it makes more difference than any setting in it.
Recording narration separately
For anything that will be published rather than sent to one person, there is a better approach than recording both sources at once.
Record the demonstration silently, then record the narration afterwards in Voice mode while watching it back. You get two files, and in an editor you have complete control over the balance between them — which you do not have when both were mixed into one file at the moment of recording.
It also produces better narration. Speaking while operating an interface makes people hesitate, backtrack and describe what they are doing after they have done it. Speaking over a finished recording lets you say the right thing at the right moment.
For a quick walkthrough this is unnecessary work. For anything that will be watched by more than a handful of people, it is twenty extra minutes that shows.
What the recording contains
The two sources are mixed into the finished file. That means the balance between them is decided while you record rather than afterwards, which is one more reason to check the level before you start.
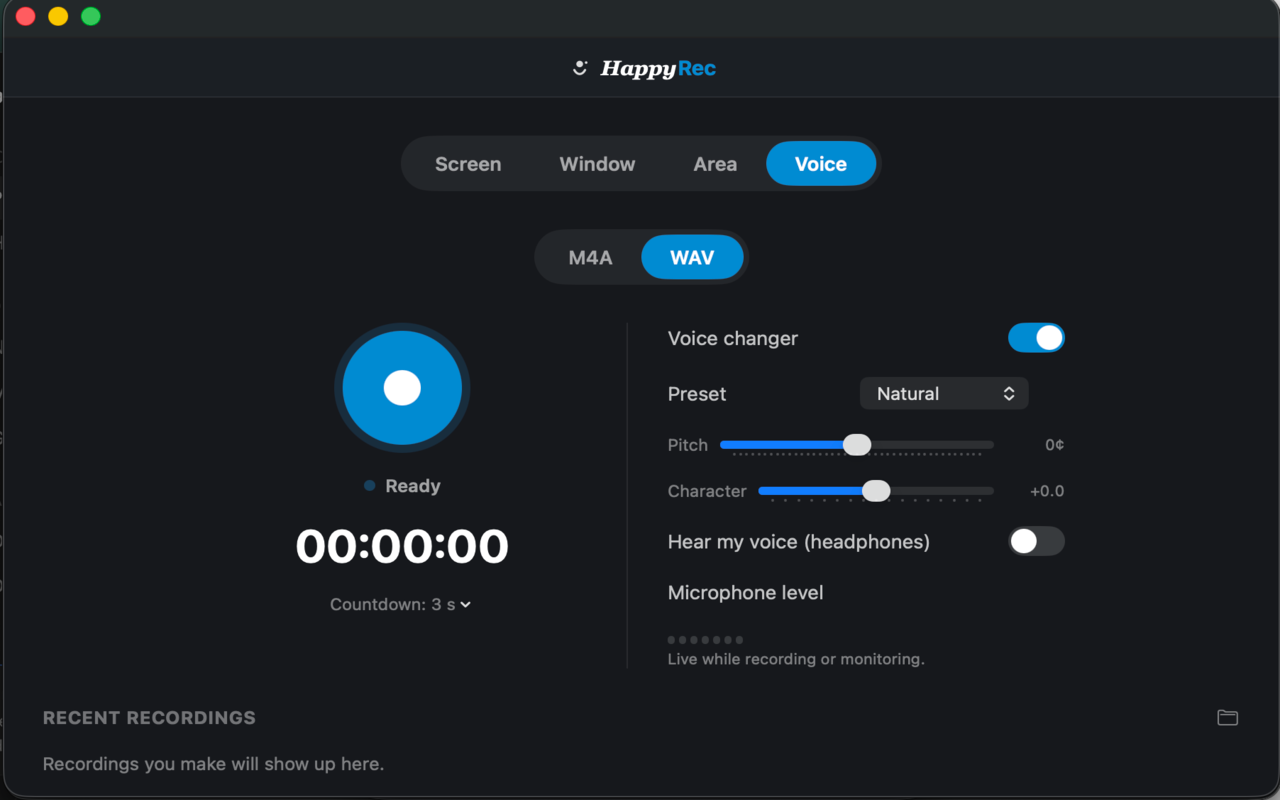
If you need them separately — narration on one track, system audio on another, so they can be balanced in an editor — record the demonstration silently and record the narration separately in Voice mode. Two files, mixed in whatever you edit with, and complete control over the balance.
For most recordings that is unnecessary work. For anything that will be published, it is worth the extra two minutes.
HappyRec records both sources without any additional driver, runs entirely on your Mac, and is free.
A checklist before a recording that matters
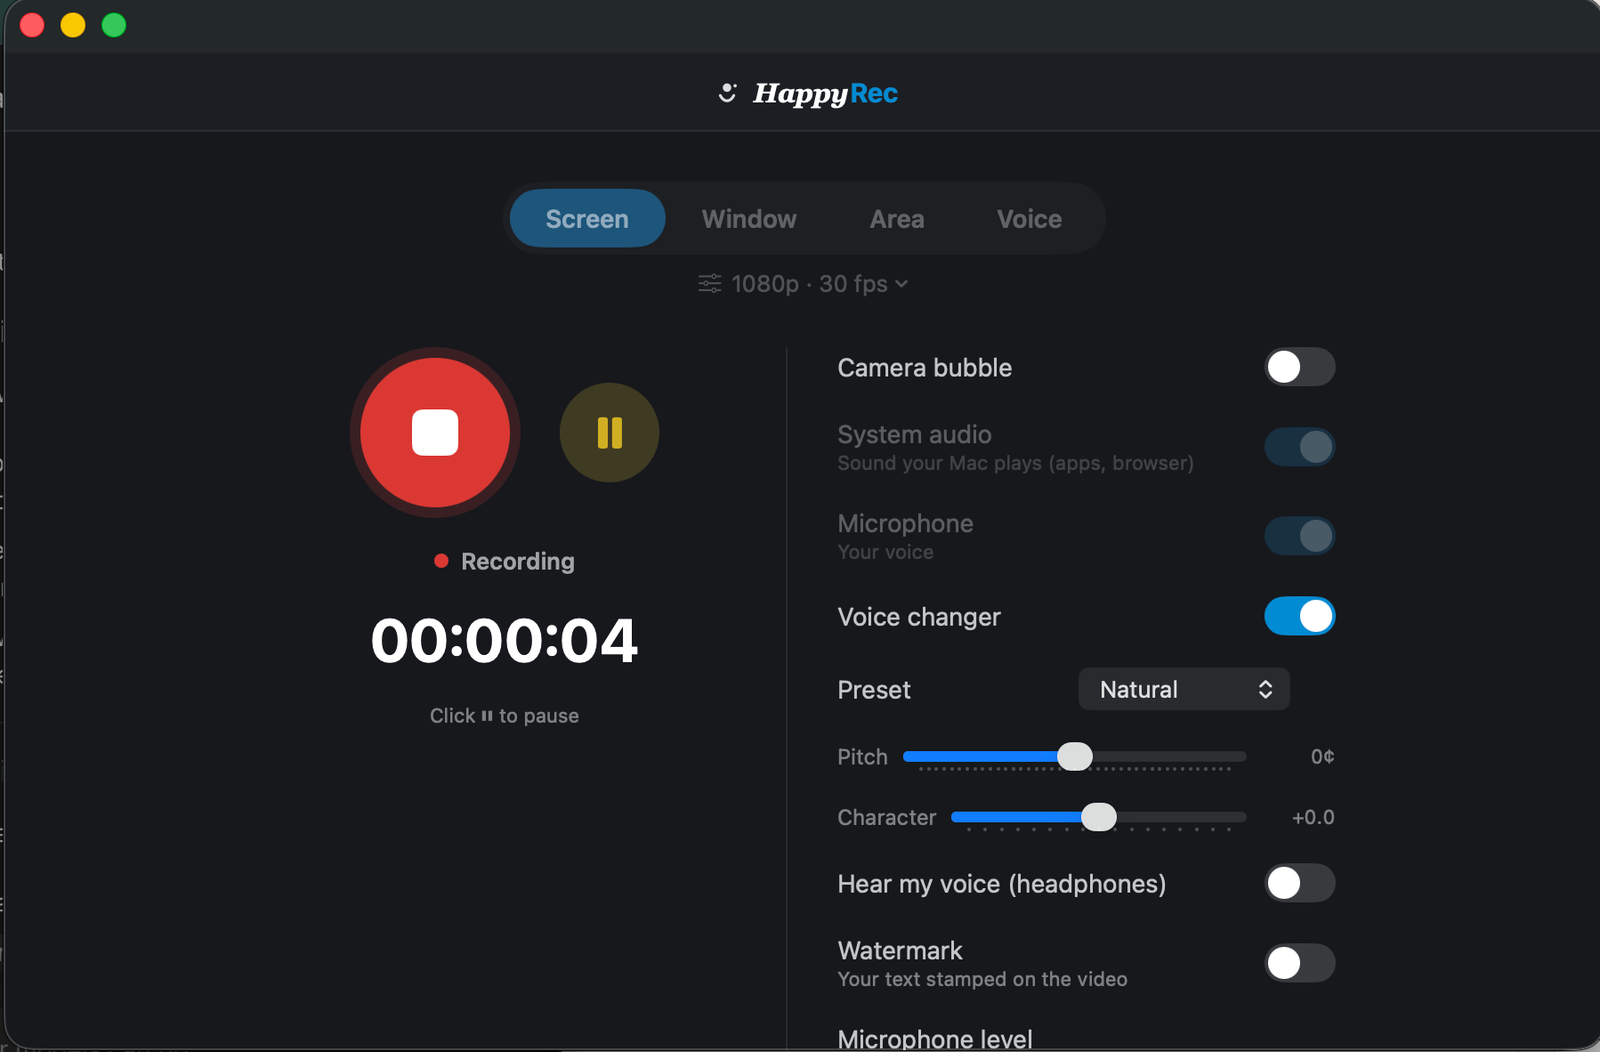
- Headphones on, if both audio sources are being recorded.
- Say a sentence — the level meter moves.
- Play two seconds of the thing you are demonstrating — you hear it.
- Do Not Disturb on.
- The loudest thing you will say approaches the top of the meter without touching it.
Five checks, about twenty seconds, and between them they prevent every audio problem described in this article. The alternative is finding out afterwards, when whatever you were recording has finished happening.